- Email: [email protected]
- phone: +44 (0) 203 916 5117
17 Apr

When it comes to organizing events—be it a virtual webinar, a hybrid conference, or a high-stakes client meeting—getting people to show up is half the battle.
You’ve already invested in generating registrations, promoting across channels, and crafting the perfect agenda. Now, the goal is simple: turn those “I’m interested” clicks into actual attendance.
That’s where the Add to Calendar button becomes your silent superstar.
This powerful but often overlooked tool helps attendees commit to your event by locking the date and time right into their personal calendars—with built-in reminders, correct time zones, and relevant joining links.
Even better? With a tool like Let’s Calendar, you can automate it all at scale—sending personalized, discreet, and platform-friendly calendar invites to hundreds, thousands, or even millions of people in a few clicks.
Let’s dive into how to use Add to Calendar buttons effectively to increase event participation—and how you can do it faster with Let’s Calendar.
Why Add To Calendar Buttons Matter
Think of the Add to Calendar button as your digital handshake. When someone adds your event to their calendar, they’re making a conscious commitment.
Here’s why it works:
- Blocks the attendee’s calendar: This prevents double bookings.
- Triggers timely reminders: Built-in alerts help avoid forgetfulness.
- Signals commitment: When users take action, it deepens their intent to attend.
- Reduces drop-offs: Attendees who use Add to Calendar buttons are more likely to show up on time.
- Builds trust: Attendees see accurate event info—no last-minute surprises.
While email confirmations can be lost in the inbox, a calendar entry sticks—and that’s exactly what makes this feature so powerful.
Manual vs Automated Add to Calendar Setup
There are two ways to implement Add to Calendar:
Manual
You use tools like addEvent.com or third-party embed generators to manually build buttons, then paste them into your pages or emails.
Drawback: You’ll have to repeat the process for every event or update, and personalization is extremely limited.
Automated
You use Let’s Calendar to create calendar-ready events—along with embeddable Add to Calendar buttons—without coding or setup hassle.
Benefits with Let’s Calendar:
- Bulk creation of Add to Calendar buttons
- 1:1 personalization of calendar invites
- Automated reminders and time zone adjustments
- Instant integration with CRMs, email platforms, or landing pages
- Compatible with all major platforms: Google, Outlook, Apple, etc.
How to Automate Add To Calendar with Let’s Calendar
Here’s a step-by-step breakdown of how to use Let’s Calendar to scale Add to Calendar buttons with ease:
Step 1: Create Your Campaign
Log in to your Let’s Calendar dashboard and create a new calendar invite campaign—specify your event type (webinar, client meeting, conference, etc.).
Include:
- Title
- Description
- Date/time
- Event links (Zoom, Google Meet, venue address)
- Add any custom branding or notes
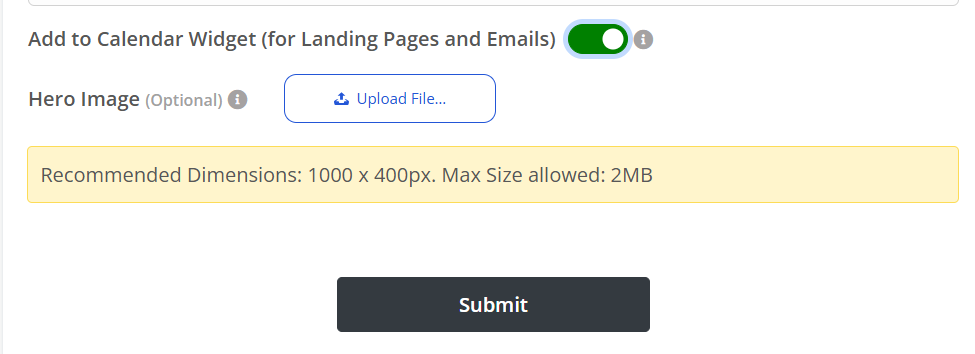
Step 2: Enable Add to Calendar Functionality
Toggle on the “Add to Calendar Button” option inside your campaign settings. Let’s Calendar will auto-generate optimized buttons for:
- Google Calendar
- Outlook (web and desktop)
- Apple Calendar (.ics files)
Step 3: Embed in Key Touchpoints
We recommend embedding your Add to Calendar button:
- On the Thank You page (post-registration)
- In confirmation emails
- In reminder emails leading up to the event
- On your event microsite
This ensures attendees see the button multiple times—and click it.
Step 4: Track in Real-Time
See who clicked, who added the event to their calendar, and who hasn’t yet—with real-time calendar engagement tracking.
You can even set up nudges or reminders based on this behavior.
Best Practices for Using Add to Calendar
Now that your button is in place, here are ways to maximize engagement and attendance:
Keep Event Info Clear and Compact
Avoid overloading the invite—keep descriptions tight and focused.
Use Time Zone Conversion
Let’s Calendar automatically handles time zone formatting for each recipient.
Reinforce the Action
Use persuasive copy like:
- “Never miss the event—Add to your calendar now.”
- “Save your spot with one click.”
Pair It with Confirmation Emails
Always include the Add to Calendar button in your thank-you emails. It’s one of the highest-converting spots.
Follow Up with Reminders
Let’s Calendar can send automatic reminder emails or prompts to those who haven’t added the event yet.
How to Add Events to Calendar Across Platforms
Whether your attendees use Google Calendar, Outlook, or Apple Calendar, Let’s Calendar makes it seamless and personalized.
Google Calendar
- Attendees click the “Add to Calendar” button.
- A Google Calendar invite opens with all key info pre-filled.
- They click “Yes”—done.
Outlook Calendar
- Let’s Calendar generates both an Outlook web link and a downloadable .ics file.
- It works across both web and desktop versions.
- One-click save, full compatibility.
Apple Calendar
- Let’s Calendar automatically creates .ics files optimized for Apple devices.
- Users click the button, tap “Add to Calendar,” and it’s done.
Bonus: Platform-Aware Smart Buttons
Let’s Calendar detects the recipient’s device and email platform to show the most optimized Add to Calendar option—ensuring everyone gets the right experience.
Add to Calendar vs. Calendar Invites: What’s the Difference?
A common question among event organizers is:
Should we use “Add to Calendar” buttons or send full calendar invites directly?
The answer is: you need both — and with Let’s Calendar, you can do exactly that.
Add to Calendar buttons are user-initiated — attendees click a button to add your event to their calendar. They’re great for post-registration pages or emails. However, they don’t allow for RSVP tracking, personalization, or automation. Users must complete the action themselves, and you can’t always be sure they do.
Calendar invites, on the other hand, are organizer-sent — you’re directly adding the event to the attendee’s calendar. These include built-in reminders, support time zone conversion, and let you track opens, responses, and RSVPs. But traditional tools require manual setup or complex integrations to send these at scale.
Let’s Calendar combines the power of both.
It allows you to:
- Embed Add to Calendar buttons anywhere in your funnel (emails, websites, confirmation pages),
- Send personalized calendar invites at scale,
- Send reminders and updates,
- Track who opened, added, or responded,
- And handle time zones and formats across Google, Outlook, and Apple.
With Let’s Calendar, you don’t need to choose — you get both user-driven and organizer-driven calendar engagement in one tool.
Conclusion
In today’s crowded digital landscape, attention is fleeting — but your events deserve committed, present attendees. The Add to Calendar button bridges that gap, converting passive interest into real participation. And when powered by Let’s Calendar, it doesn’t just work — it scales, it personalizes, and it performs. From mass calendar invites for webinars to automating meeting reminders across platforms, Let’s Calendar makes it all seamless.
If participation matters, don’t leave it to chance. Make it a calendar commitment — with Let’s Calendar.


Recent Comments